Step-by-Step Guide to Creating a Visual Home Inventory for Renters Insurance Claims
Imagine the unthinkable: a fire, flood, or theft leaves your rental property in disarray. In the chaotic aftermath, one of the most stressful tasks is recalling every single possession you owned for your renters insurance claim. Without solid proof, getting fair compensation can be an uphill battle. This comprehensive step-by-step guide to creating a visual home inventory for renters insurance claims will equip you with the knowledge and tools to protect your belongings and ensure a smoother claims process, giving you invaluable peace of mind.

Why a Visual Home Inventory is Crucial for Renters
Many renters mistakenly believe their landlord's insurance covers their personal belongings. This is incorrect. Renters insurance specifically protects your possessions against covered perils like fire, theft, certain natural disasters (e.g., hurricanes, wildfires, but typically not floods unless added), and liability. However, filing a successful claim hinges on documentation. An accurate, visual home inventory provides undeniable proof of ownership and value, dramatically speeding up your claim and maximizing your reimbursement.
Without a detailed inventory, you're left to guess, often forgetting numerous items or struggling to provide proof of their existence or condition. This can lead to significant financial losses. A visual inventory eliminates the guesswork, transforming a stressful situation into a manageable process.
Your Step-by-Step Guide to Creating a Visual Home Inventory
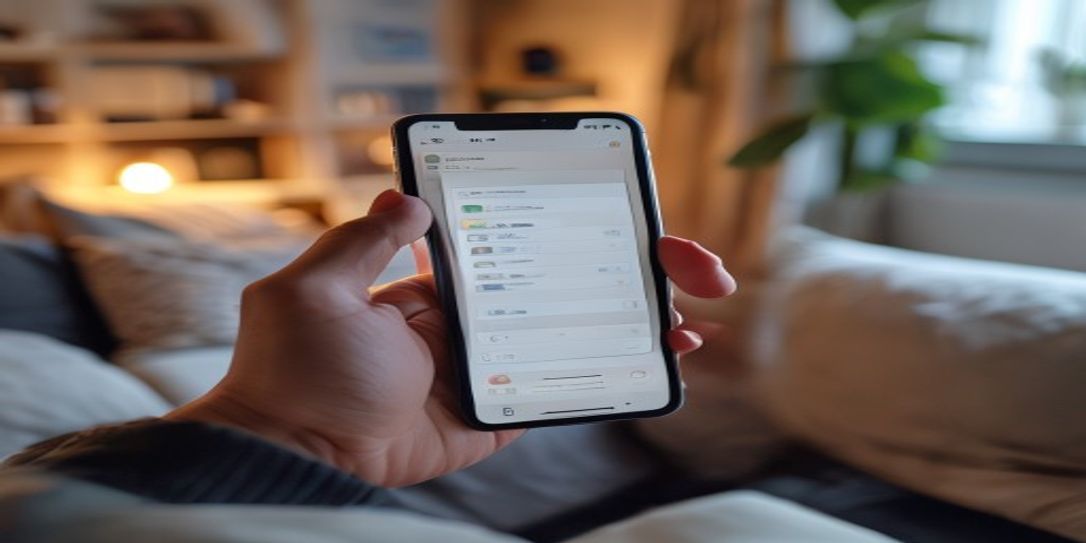
Step 1: Choose Your Tool (The Rivets Inventory App!)
Forget pen and paper, which can be lost or destroyed. For the most efficient and secure inventory, download the Rivets Inventory Android App. This free app is specifically designed to help you organize your personal belongings, making the task of creating a visual home inventory effortless. With Rivets Inventory, you can easily capture photos, add detailed descriptions, and attach important documents like receipts – all securely stored and accessible when you need them most.
Step 2: Divide and Conquer Your Rental Space
Tackling your entire home at once can be overwhelming. Break down the task into manageable sections. Go room by room, or even by closet or drawer. This systematic approach ensures that you don't miss anything, from the big-ticket items in your living room to the smallest valuables in your jewelry box.
Step 3: Document Everything Visually
This is where the "visual" aspect of your inventory shines. Use your smartphone (especially with the Rivets Inventory app) to take clear photos and even short videos of every item. For electronics, furniture, and appliances, capture multiple angles. Importantly, take close-up shots of serial numbers, model numbers, and brand names – vital information for insurance claims. Don't forget items stored in closets, attics, or garages.
- Photos: Take wide shots of rooms, then individual photos of items.
- Videos: Walk through rooms, narrating and panning over items.
- Close-ups: Focus on identifying marks like serial numbers, designer labels, and unique features.
Step 4: Add Detailed Descriptions and Proof of Ownership
Simply having a picture isn't always enough. For each item documented in your Rivets Inventory app, add comprehensive details:
- Item Name & Description: Be specific (e.g., "Samsung 55-inch Smart TV, 2023 model").
- Brand & Model: Crucial for accurate replacement values.
- Serial Number: Especially for electronics and valuable items.
- Purchase Date & Price: Helps establish current value (depreciation).
- Receipts/Appraisals: Upload photos of these documents directly into the Rivets app to link them to the item.
Step 5: Secure Your Inventory & Keep It Updated
Your inventory is only useful if it's safe and current. The Rivets Inventory app stores your data securely, often with cloud backup options, meaning your information is protected even if your physical device is lost or damaged. Make it a habit to update your inventory whenever you purchase new significant items, sell something, or move to a new rental property. A quick scan and update every six months is a good practice.
Simplify Your Inventory with the Rivets Inventory Android App
Creating a thorough home inventory for renters insurance claims might sound daunting, but with the right tools, it becomes straightforward. The Rivets Inventory Android app is designed specifically to simplify this process, offering a user-friendly interface for capturing and organizing all your belongings. It's a free app that empowers you to be prepared, whether facing a natural disaster, theft, or simply needing an organized record of your assets. Download the Rivets Inventory app today and take the first step towards securing your personal property.
For more tips on managing your home contents, check out our guide on the best free home inventory app for insurance.
People Also Ask
- What is renters insurance?
Renters insurance is a policy that protects your personal belongings from damage or loss due to covered perils, provides liability coverage if someone is injured in your rental home, and covers additional living expenses if your rental becomes uninhabitable.
- How often should I update my home inventory?
It's advisable to update your home inventory at least once a year, or whenever you make significant purchases, sell valuable items, or move to a new residence.
- Can photos alone suffice for an insurance claim?
While photos are excellent visual proof, combining them with detailed descriptions, serial numbers, purchase dates, and receipts (all easily done with the Rivets app) provides a much stronger and more comprehensive claim.
FAQ Section
Q: What should I include in my visual home inventory for renters insurance?
A: You should include all your personal property, from furniture and electronics to clothing, jewelry, artwork, and kitchenware. For each item, capture clear photos, note its brand, model, serial number, purchase date, and estimated value. Don't forget high-value items that might require special riders on your policy.
Q: Why is a visual inventory better than a written list?
A: A visual inventory provides undeniable proof of the existence and condition of your items, which a written list alone cannot. Photos and videos leave little room for doubt, speeding up the claims process and helping ensure you get fair compensation.
Q: Can the Rivets Inventory Android App help with natural disaster preparedness?
A: Absolutely. In areas prone to natural disasters like wildfires or hurricanes, having a digital, off-site record of your belongings via the Rivets Inventory app is critical. It ensures your documentation survives even if your physical home and its contents are destroyed, making post-disaster claims much simpler.
Q: Is the Rivets Inventory App truly free?
A: Yes, the Rivets Inventory app is available as a free app for Android users, providing robust features for creating and managing your home inventory without cost.
Q: How long does it take to create a visual home inventory?
A: The time varies based on the size of your rental and the number of possessions. By using a systematic room-by-room approach and a tool like the Rivets Inventory app, you can efficiently complete a comprehensive inventory, often over a few dedicated sessions.
Related: step-by-step guide to creating a visual home inventory for renters insurance claims